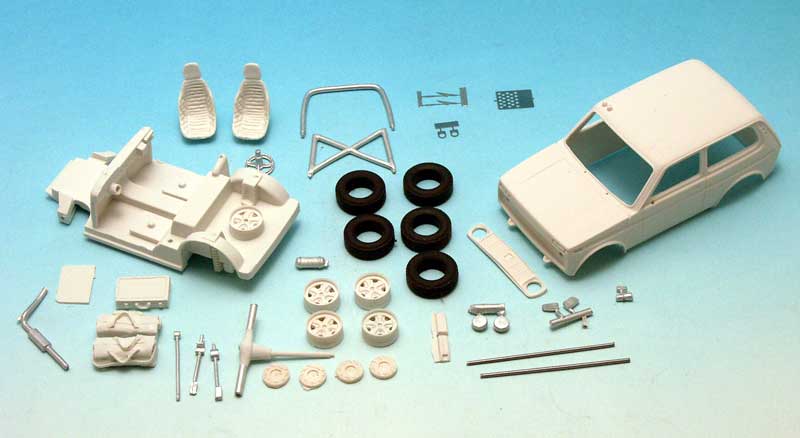
The photo shows what you get in the box, it only miss the decal sheet and instructions.
What is a resin kit?
The main diference with a plastic kit is the fact you will have to clean the different parts, as the casting method uses silicon rubber moulds, which can let some layer of silicon on the parts, which can spoil the paint work.
Two solutions for cleaning : you can use aceton, and dip the parts of the kit for some seconds, then let dry (a fortnight), it is for me the easiest way ; aceton can be easily found and you can use it again ! Or you may use gentle hot water and cleaning powder with and old toothbrush, longer, and not realy easy for small parts.
The other advantage is that you have no mould lines on the body, preparation for painting is therefore more easy.
How to build a resin kit?
After having verified you get all the parts, please, read the instructions! There you will find the color references and the building order that will permit you to get a well finished model.
First, be sure to have some useful tools, basic for modeling:
-some small files, flat, round, square, triangular……
-sandpaper fine, medium.
-a small drill machine with Ø 0.5mm, 1 mm, 1.2 mm and 1.5 mm.
-small pliers, with square and point ends.
-a good cutting tool for the wheel axes.
-some glues of different types, cyanoacrylate for current work, epoxy two parts, a vinyl glue for the windows….
-for the paint, use Humbrol or Tamiya…for the small parts and detail and finish, you can use spray cans, but the best results will be obtained with a spray gun and acrylic or automotive paints. To figure the orange or red lights, first apply a coat of aluminium paint then use Tamiya clear colors.
You are now ready to begin!
Copyright P.Le Prévost 12 2015

